Behind the scenes
THE SKETCH

This was my first attempt at creating something stylized, in any medium. My background is more realism so this posed as a fun challenge. The main stylized aspects of the character include the swooping shape of the nose, his very defined jawline, the long, lanky posture, and his big, soft, round eyes.
I wanted to create a character who could be used for many different types of animation and movements. A ninja came to mind, but I wanted to make him an “underdog.” I was a big fan of the movie “Blank Man” and thought, “let’s make this character a homemade one.”
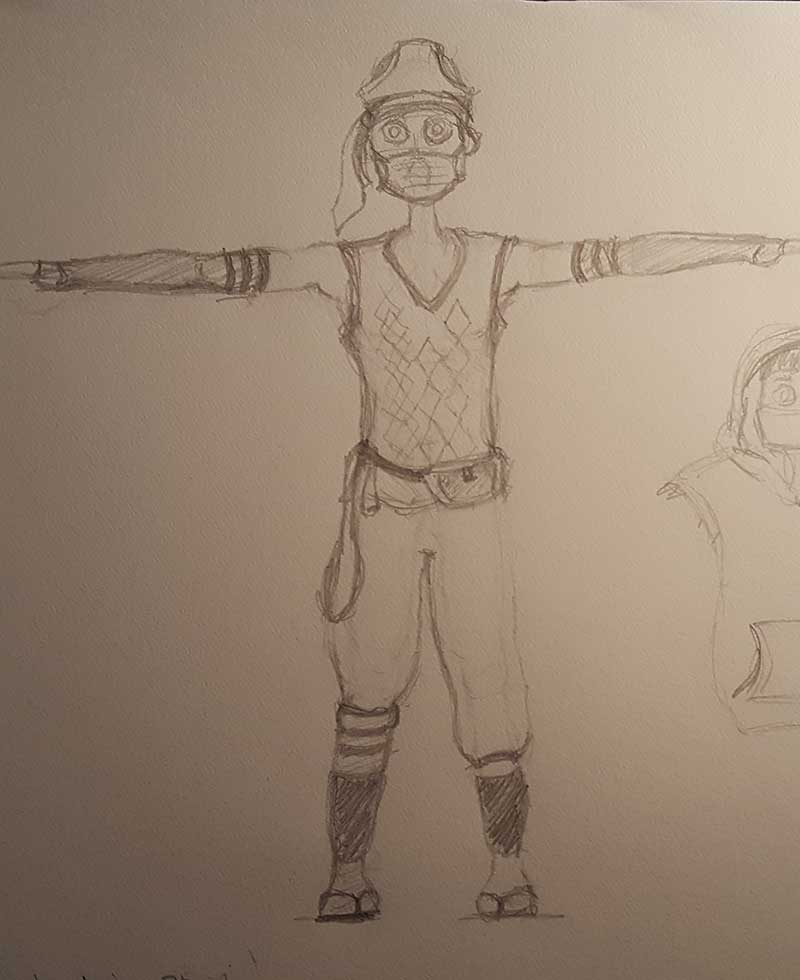
I wanted to have fun with this character so I reminisced about some details in my childhood. When I was about six, my mom took a picture of my dad, my brother, and I. My favorite part of this picture is that we are all wearing “whitey tighties” on our heads (which made for a great head cover for my ninja). The bowl haircut in the sketch? Yeah…I had that until the 9th grade…
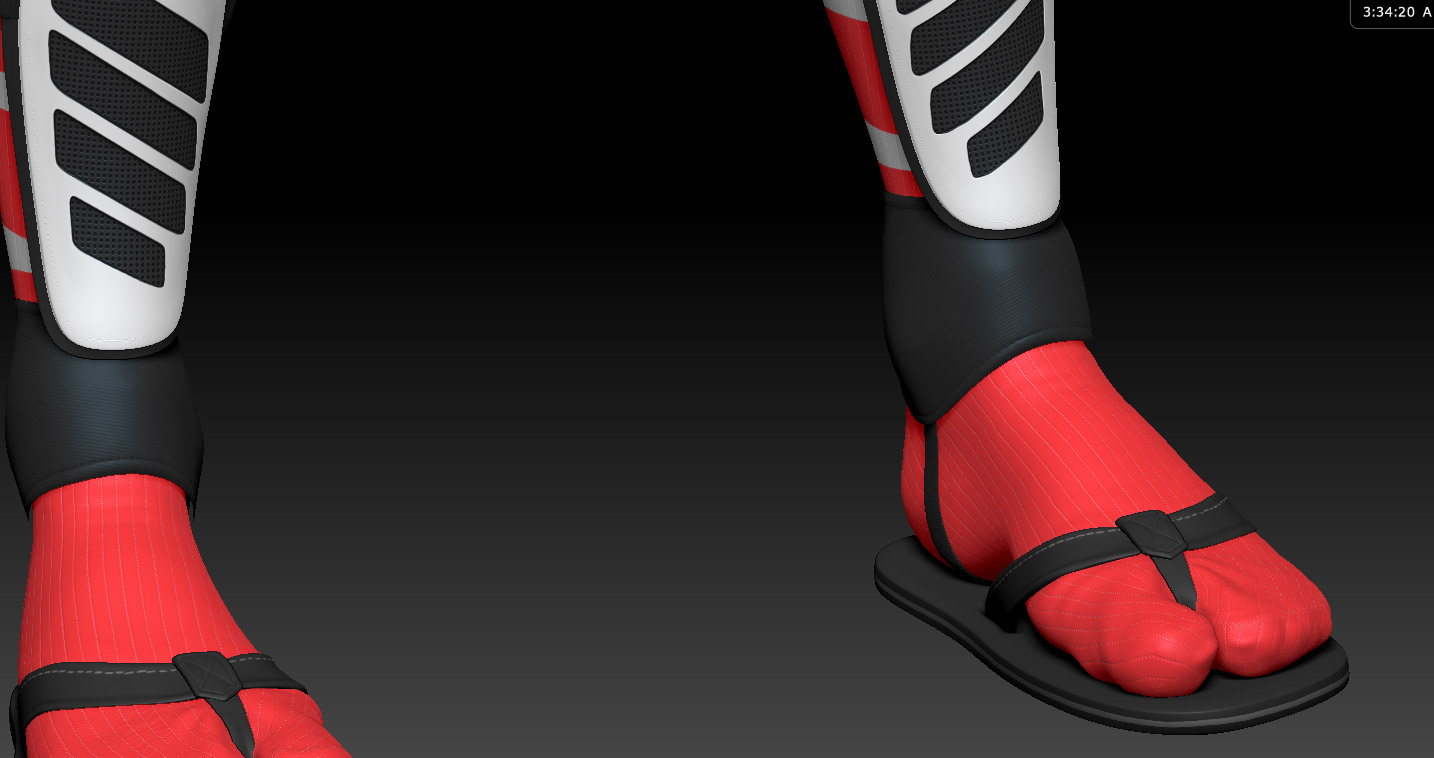
I have always loved soccer, so of course he’s covered in soccer socks and has extra protection for his shins. As for the feet, I used to think it was fun to put on flip-flops with socks and make my feet look like I was a samurai. Finally, the “nunchuck” hanging from his waist is a nod to the great “Homie the Clown.”
HIGH POLY SCULPTING


(Click an image to see a larger version)
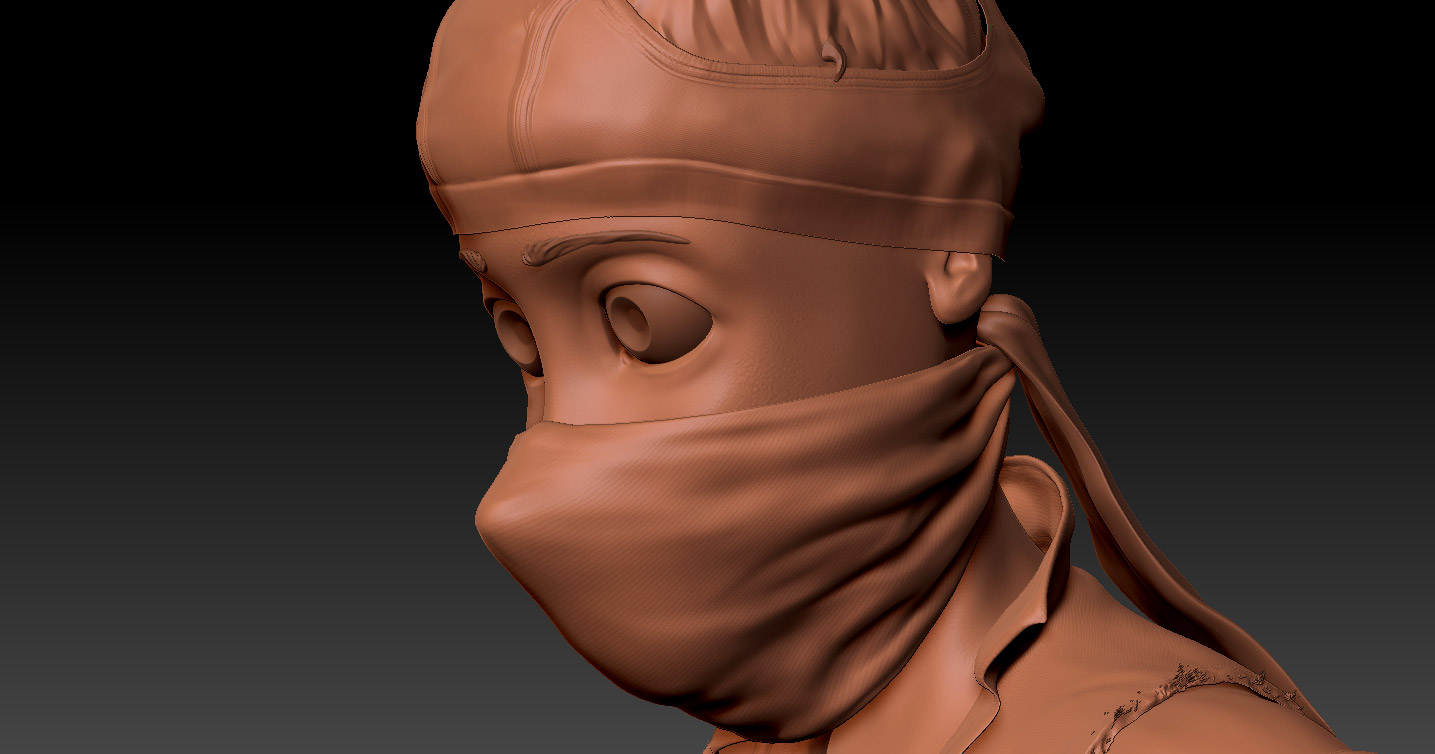
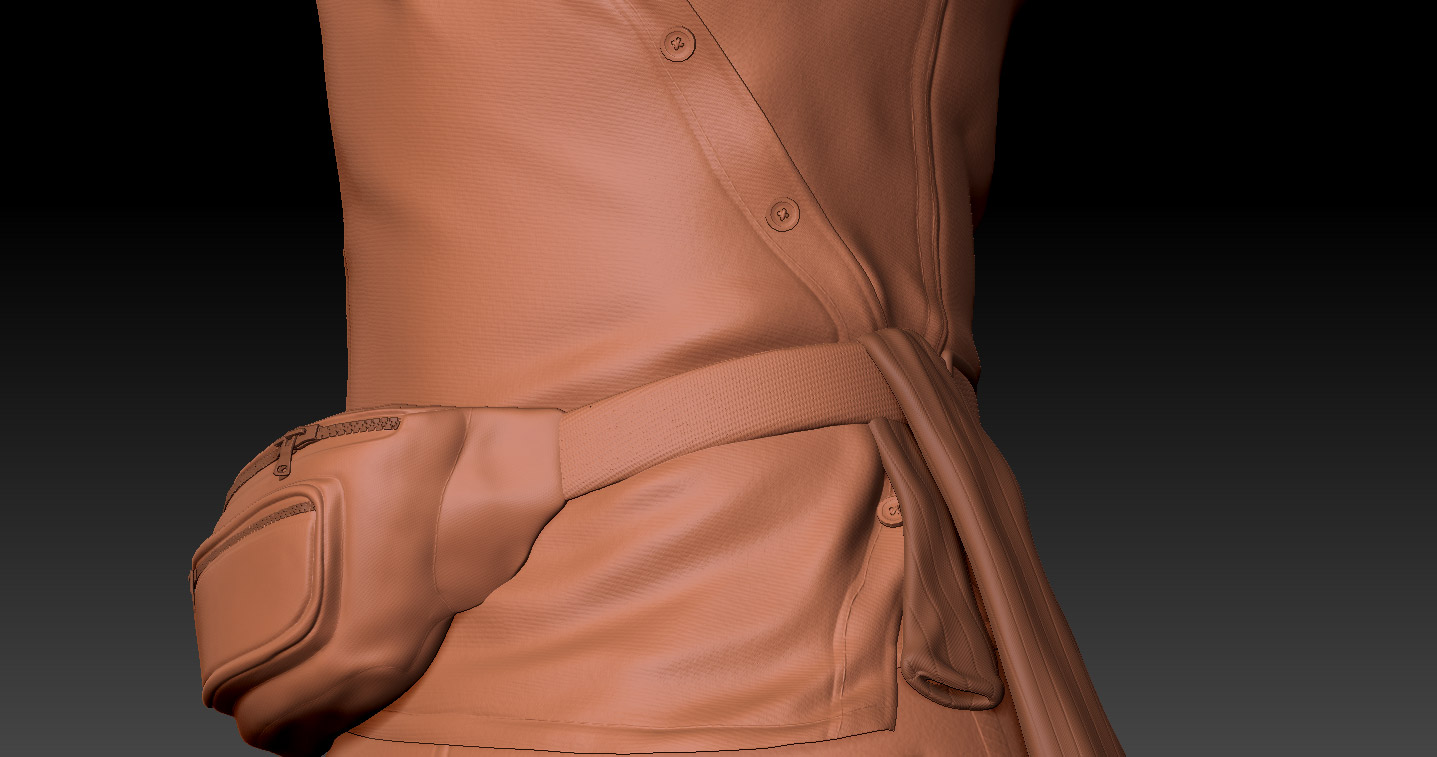
I wanted to test out a new workflow for this character. I started in ZBrush first without a base mesh. Instead, I used Dynamesh to flush out the proportions and gesture of the character. I had a lot of fun with sculpting the folds of the clothing and giving this model a lot of life.
LOW POLY MODELING
Here’s a quick look at the final topology of the character. You may notice the poly count looks a little high on his shirt and legs. I decided to increase the subdivisions to make sure there was enough polys to support the displacement. Since the shirt and legs have some nice cloth folds, I wanted the displacement to make them really pop. You can also see that the body and head have a lower count.
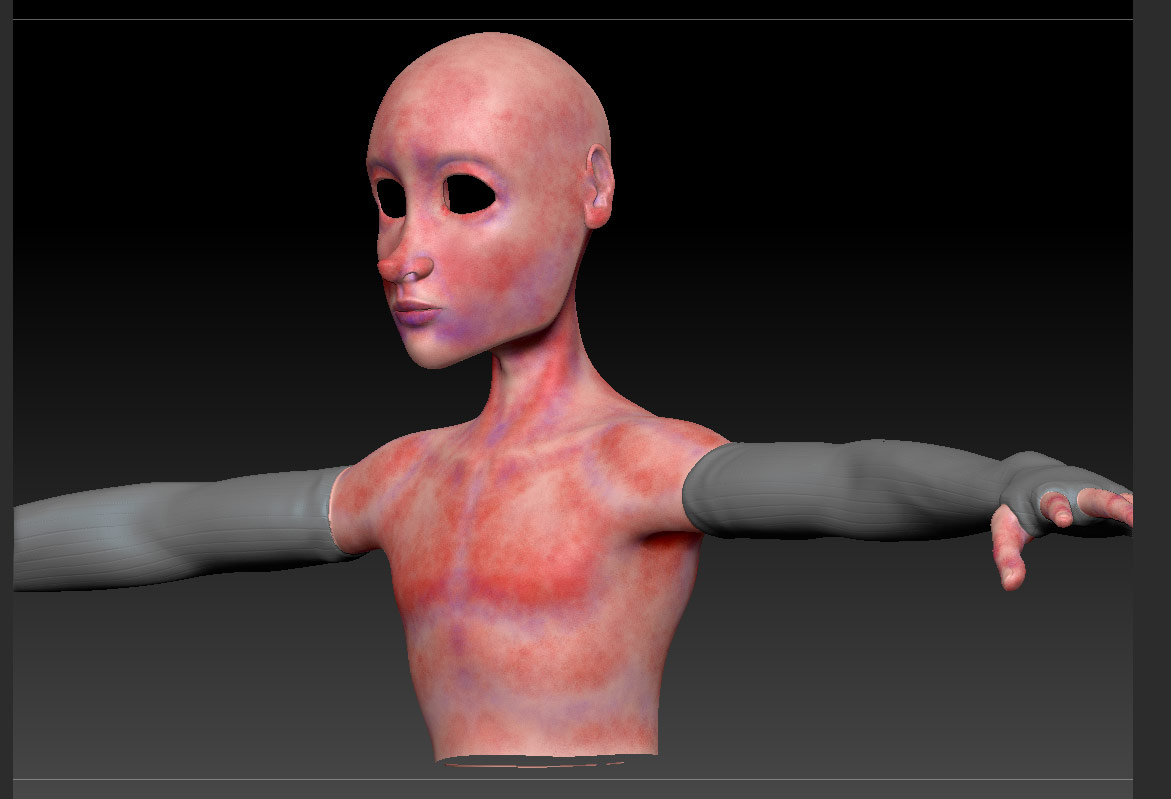
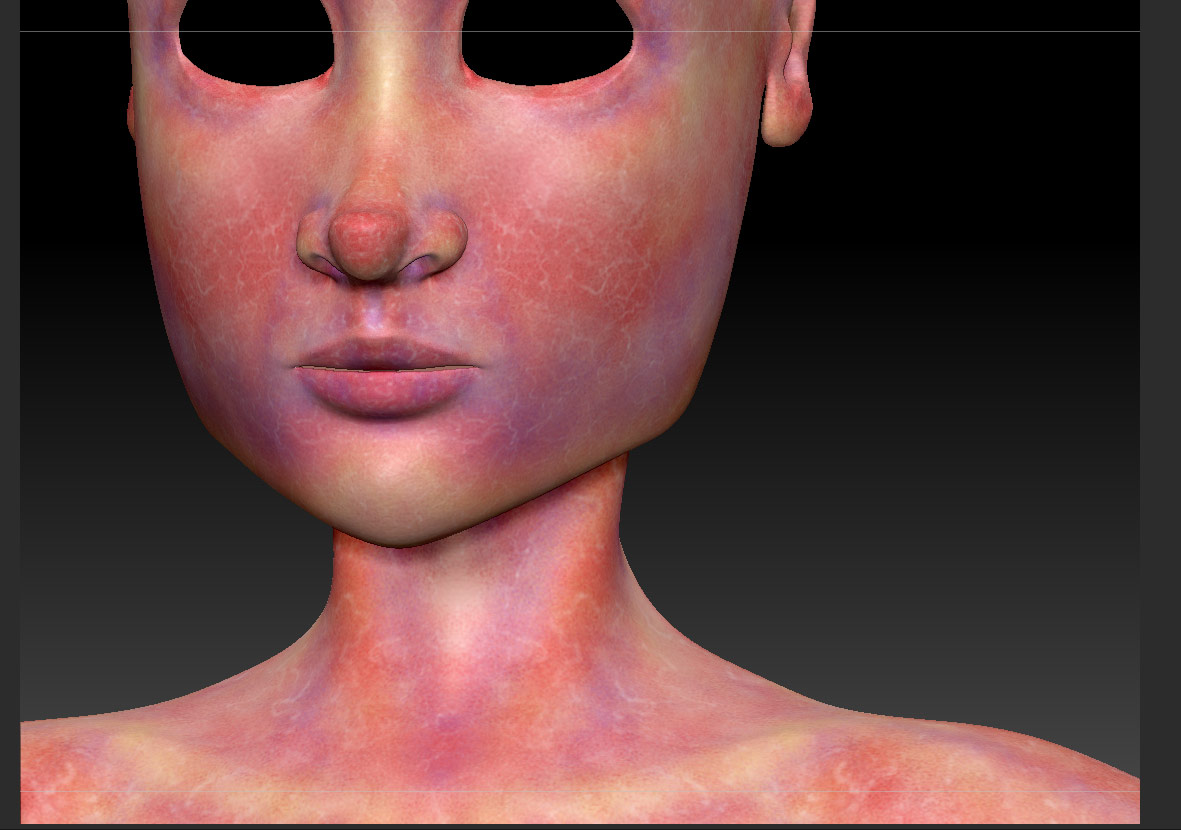
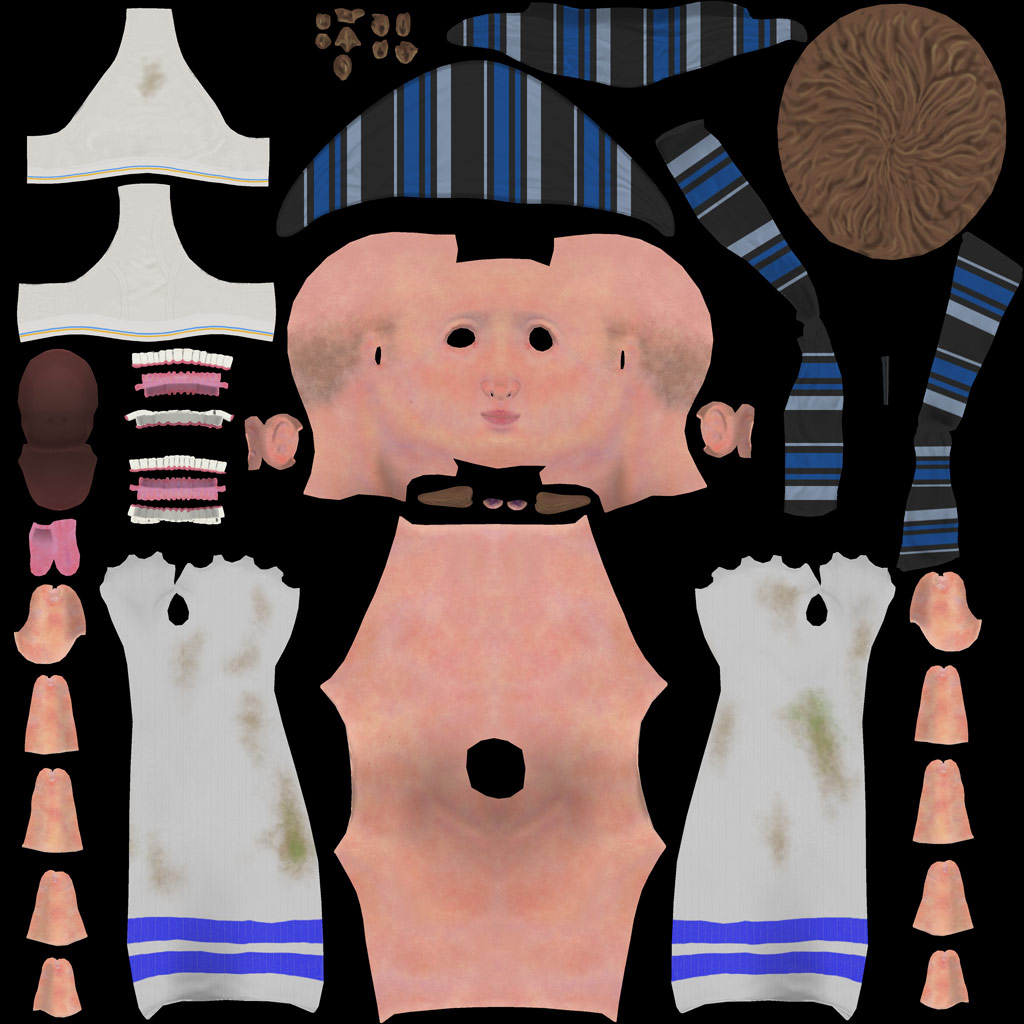
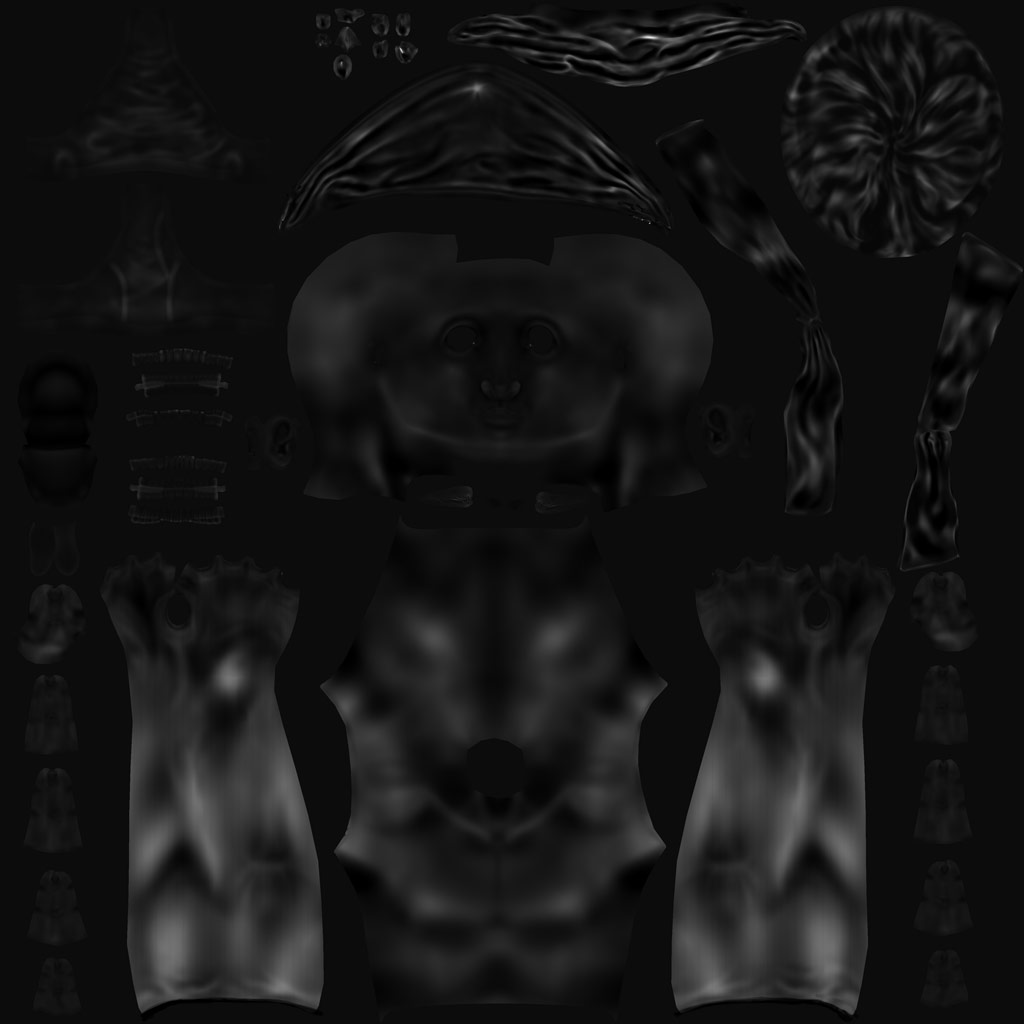
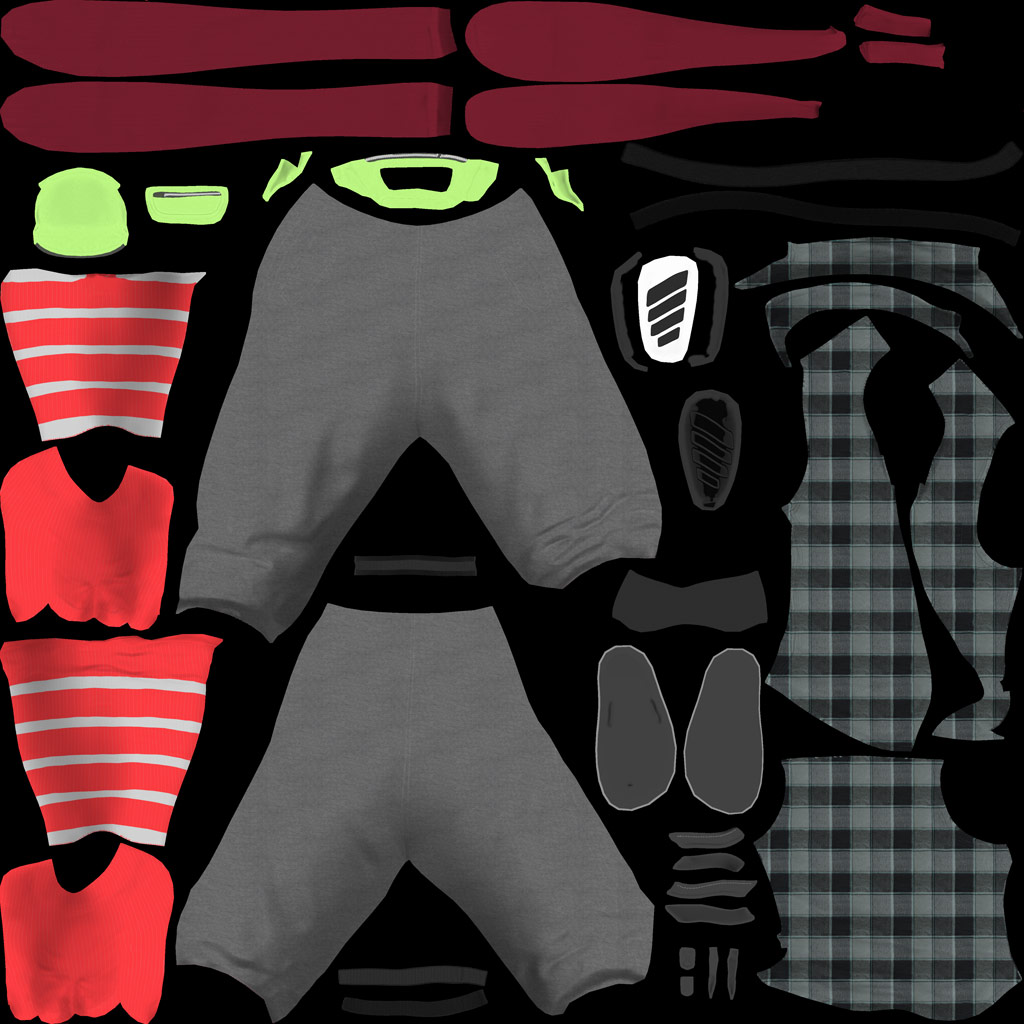
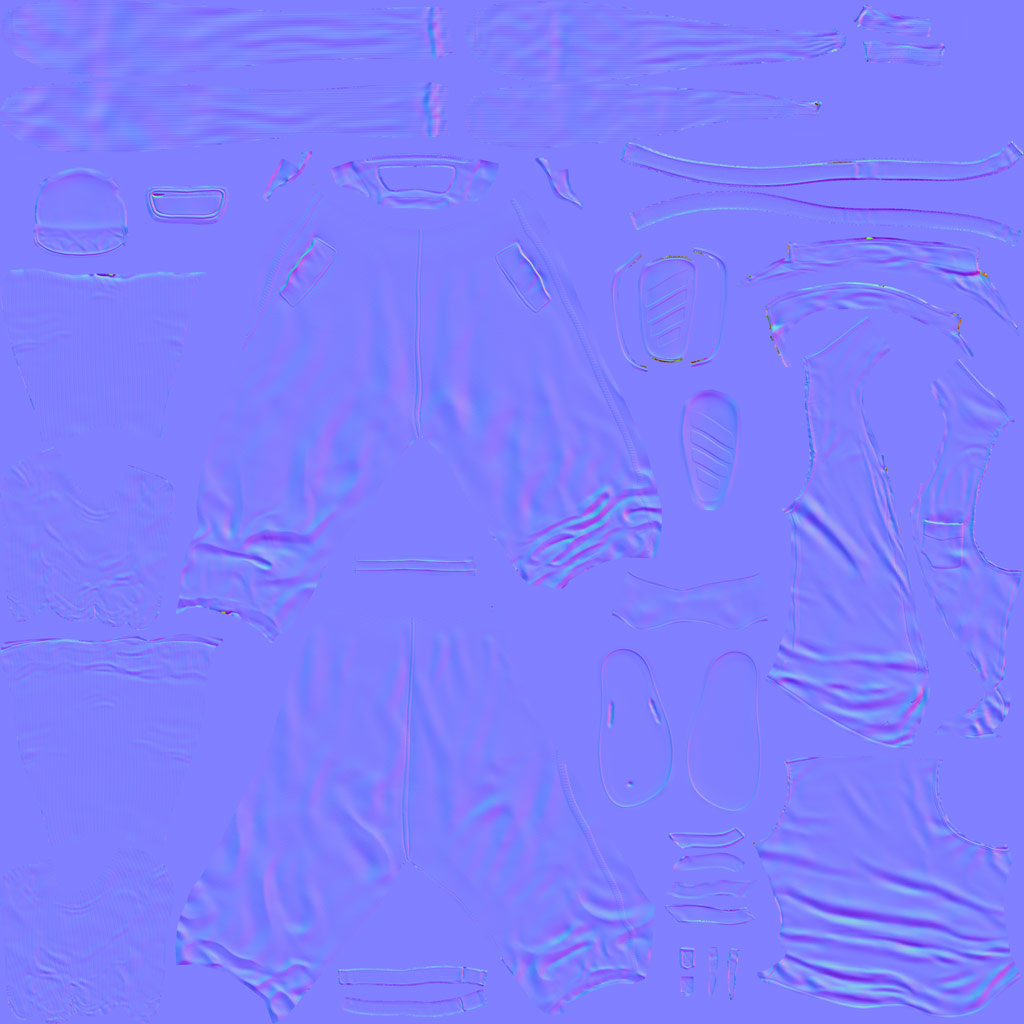
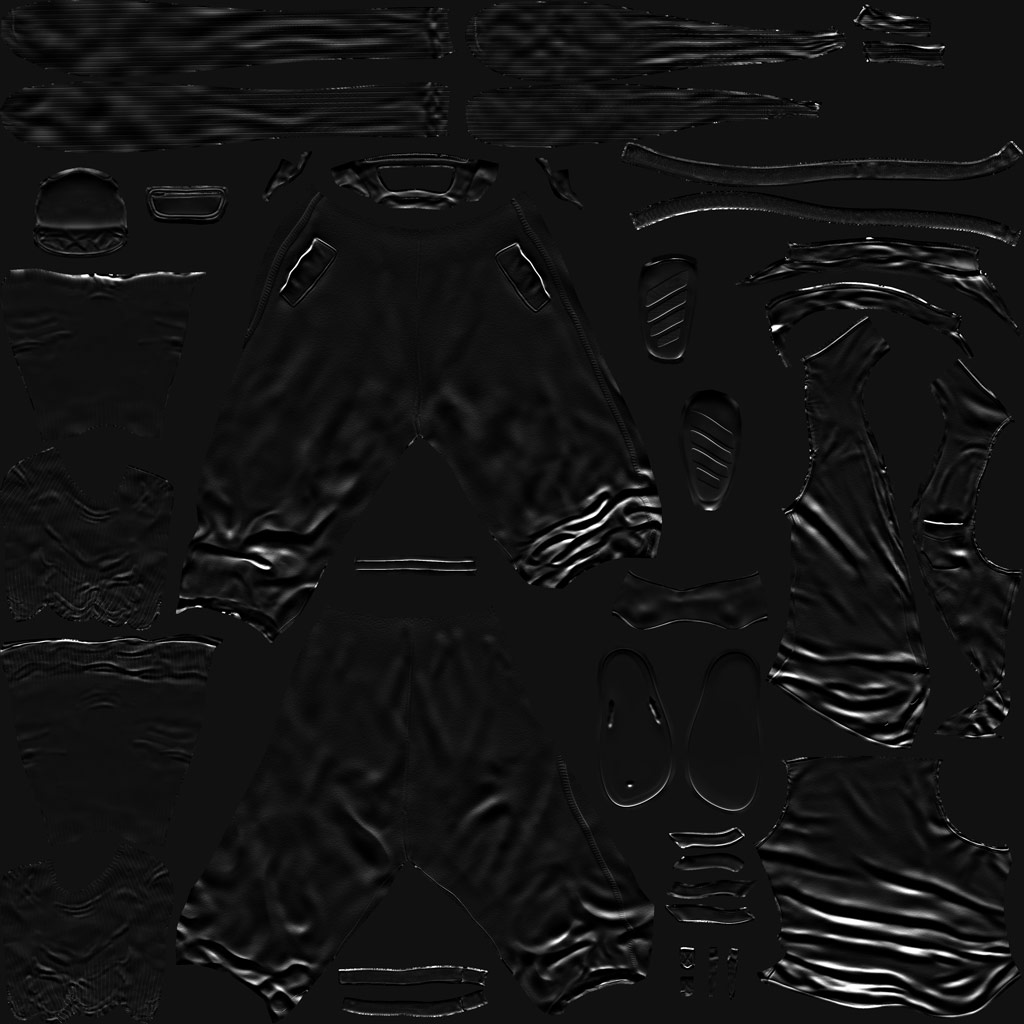
POLYPAINT & TEXTURING
Here are some screenshots from ZBrush while Polypainting. The first few pictures show the progression of the skin painting layers.
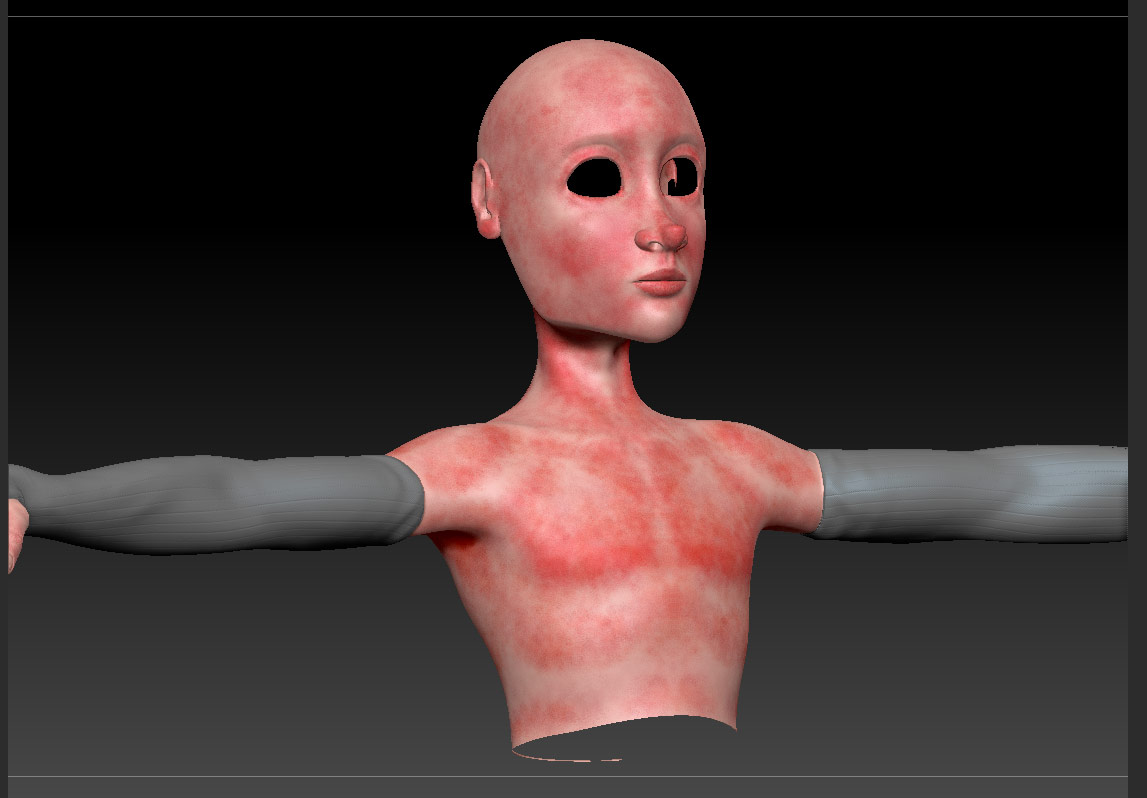


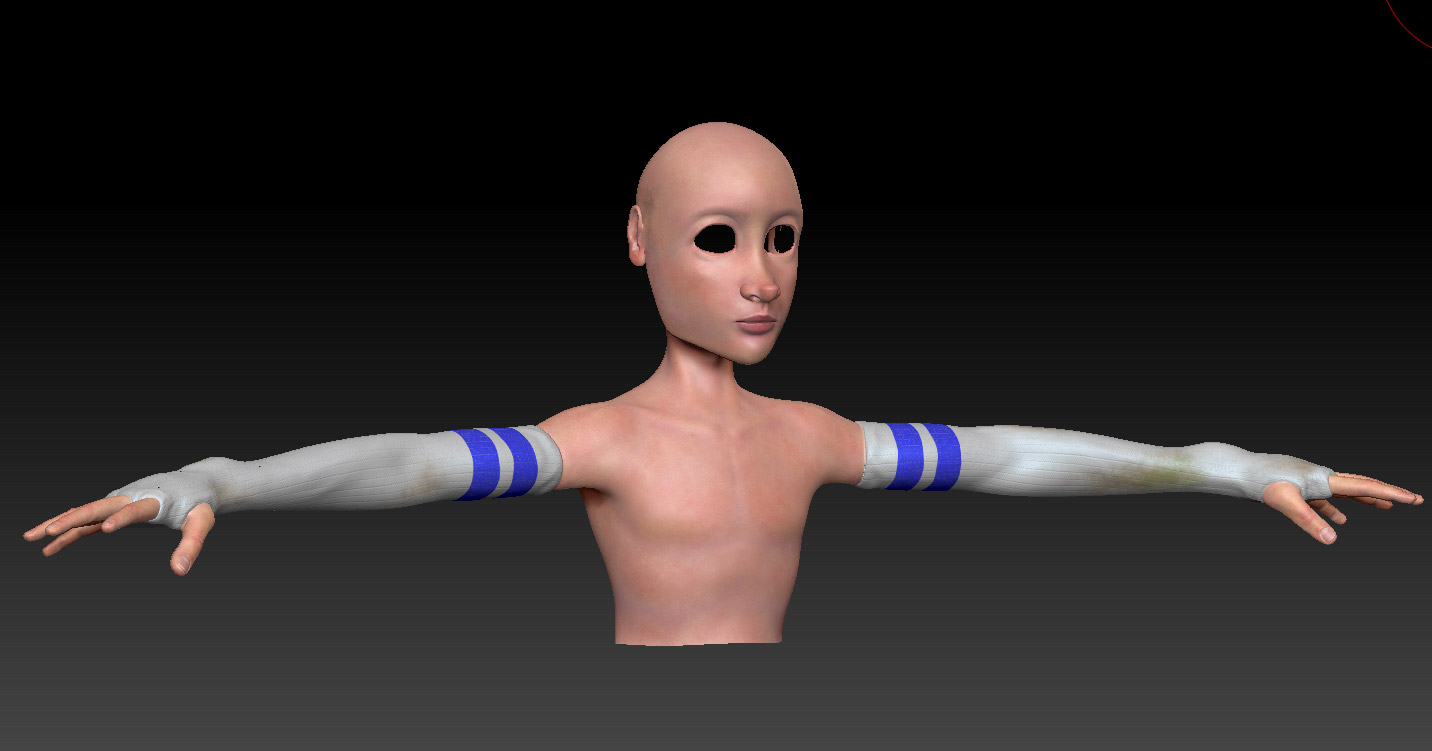
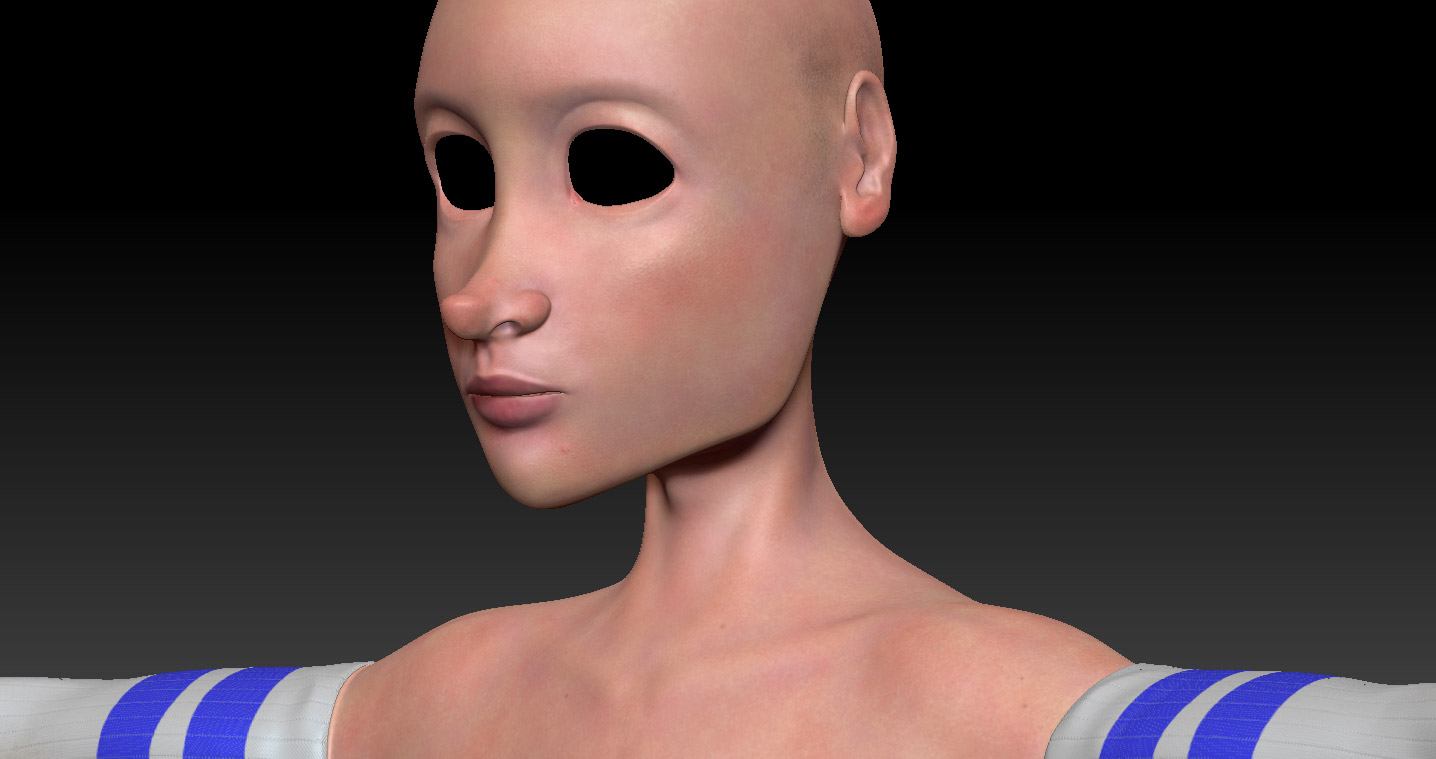

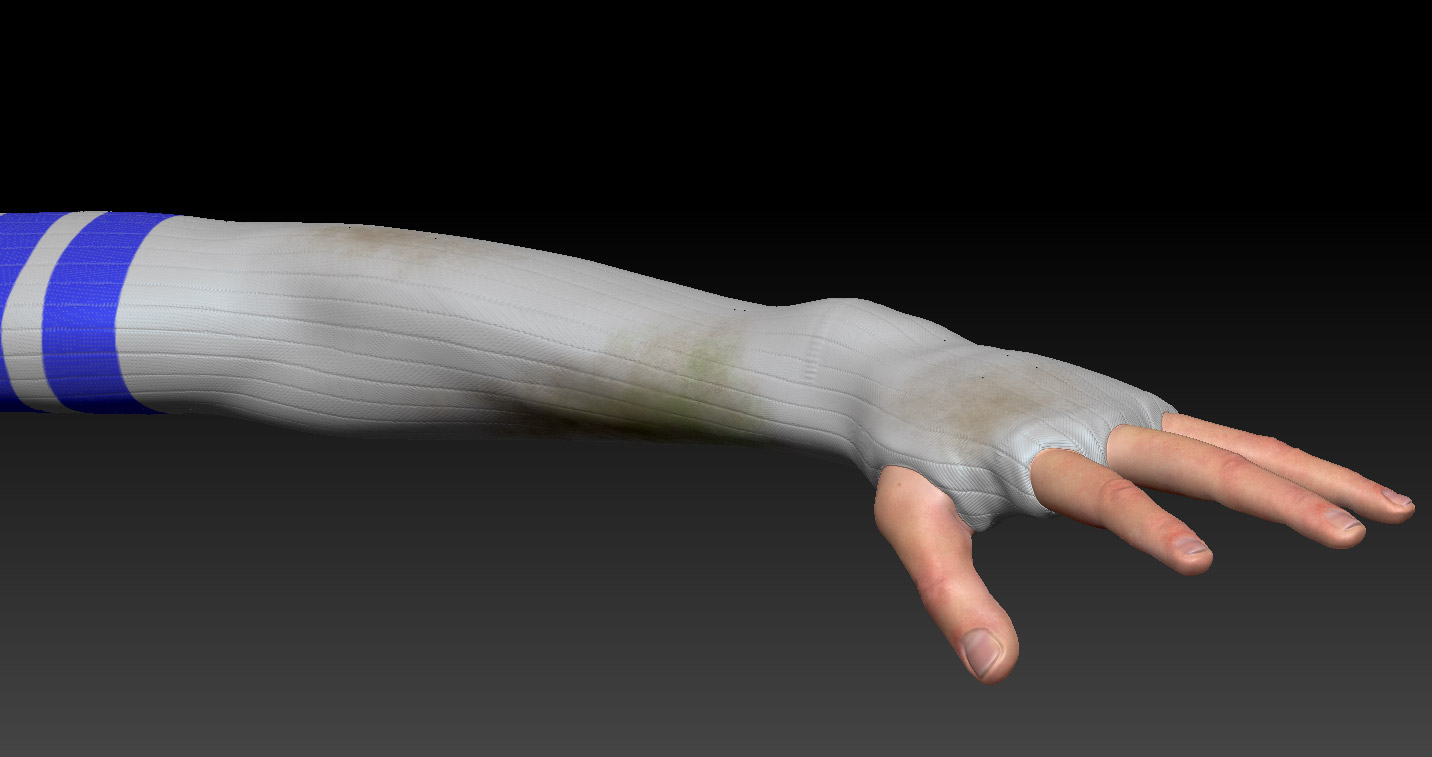


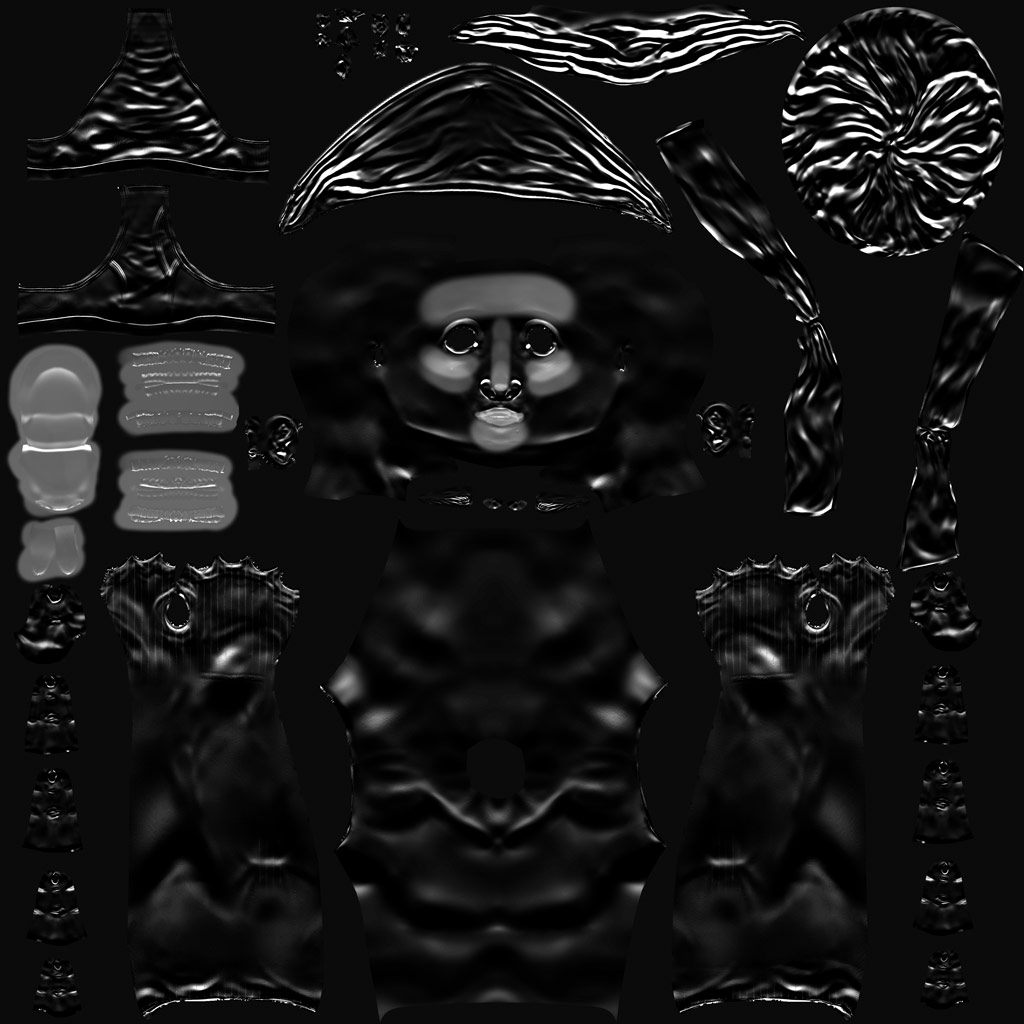
In the final texture I created an upper body and lower body map. I mainly used a Diffuse, Normal, and Displacement. I have a Specular map, but really only used it for the body and face. Since the rest of the model was mainly clothing, I treated the specular differently in the material.


(Click an image to see a larger version)
RIGGING
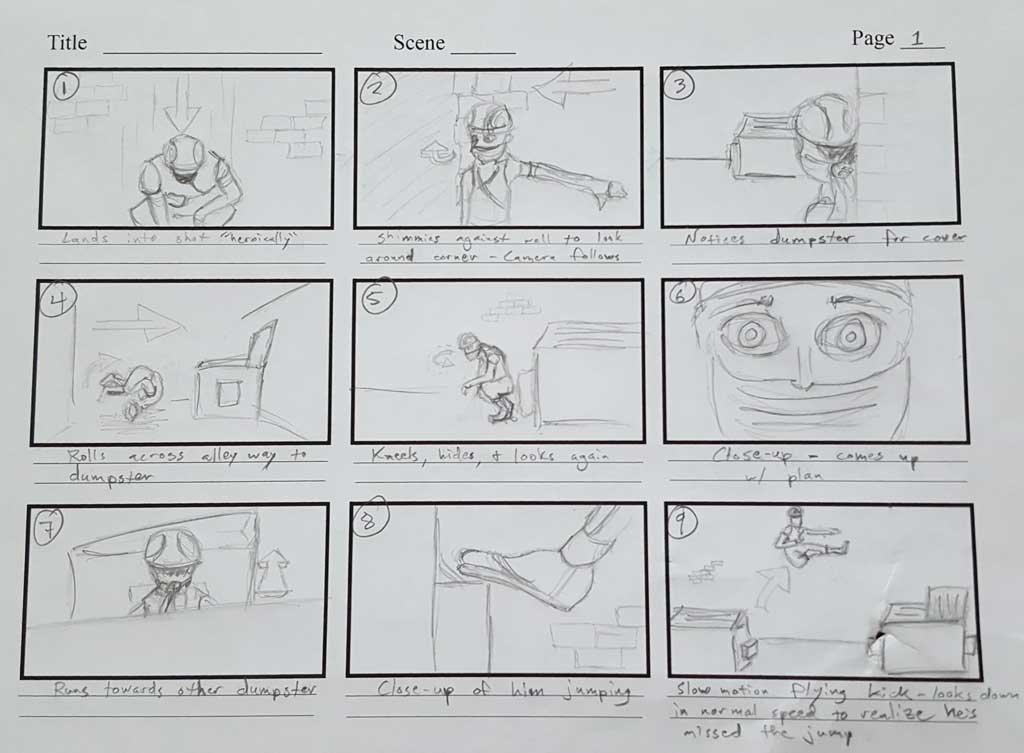
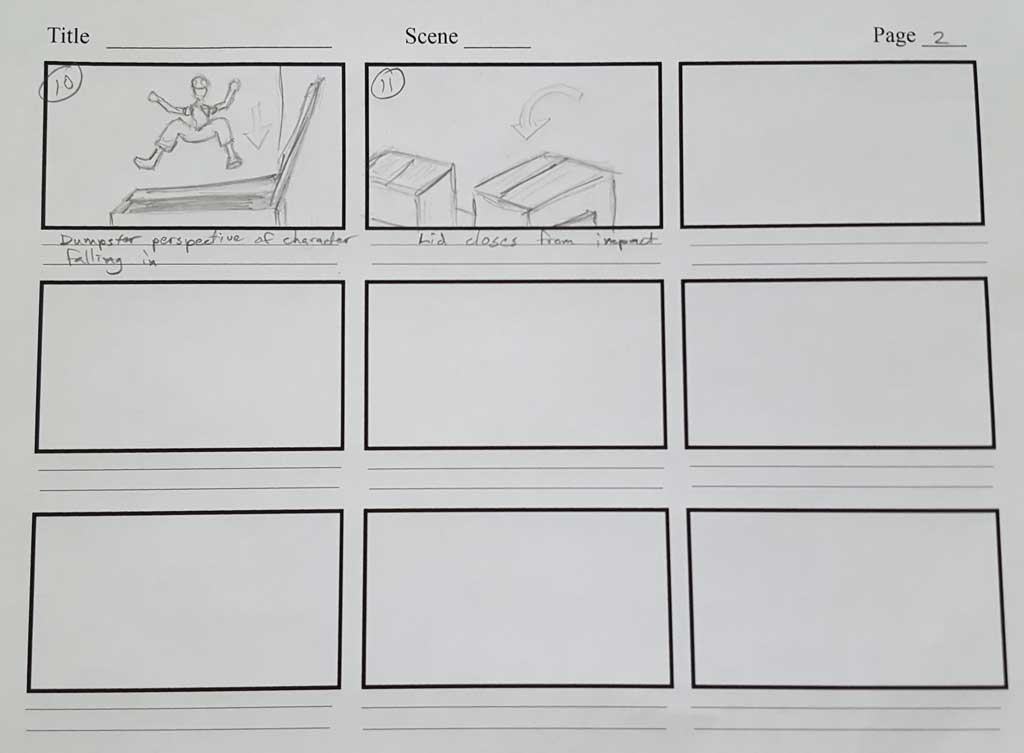
STORYBOARD
BLOCKING AND EARLY SPLINE ANIMATION